How to Make Easy Hairstyle for Wedding: Simple DIY Looks That Take Minutes
Your wedding day should be about celebrating love, not stressing over complicated hair routines. Many brides think they need expensive stylists to look beautiful, but that’s not true. With the right tools and a little practice, anyone can create stunning wedding hairstyles at home.
Simple updos, braided styles, and half-up looks can be mastered with basic tools like bobby pins, a curling iron, and some hairspray. These elegant styles work for different hair lengths and types. The key is choosing a look that matches your skill level and practicing it before the big day.
Creating your own wedding hairstyle saves money and gives you control over your look. You can customize the style to match your dress and personal taste. With step-by-step instructions and helpful tips, any bride can achieve a professional-looking hairstyle that lasts all day.
Key Takeaways
- Simple wedding hairstyles can be created at home with basic tools and practice
- Following clear instructions helps ensure your hairstyle stays beautiful throughout the celebration
- Proper preparation and the right techniques make DIY wedding hair achievable for any bride
Step-By-Step Guide to Creating Easy Wedding Hairstyles
Creating beautiful wedding hairstyles at home requires the right approach and basic techniques. The key is matching your hairstyle to your wedding theme, having proper tools ready, and mastering simple techniques like updos and braids.
Choosing the Right Hairstyle for Your Wedding Theme
The wedding theme should guide the hairstyle choice. A beach wedding calls for loose, flowing styles that won’t be damaged by wind or humidity.
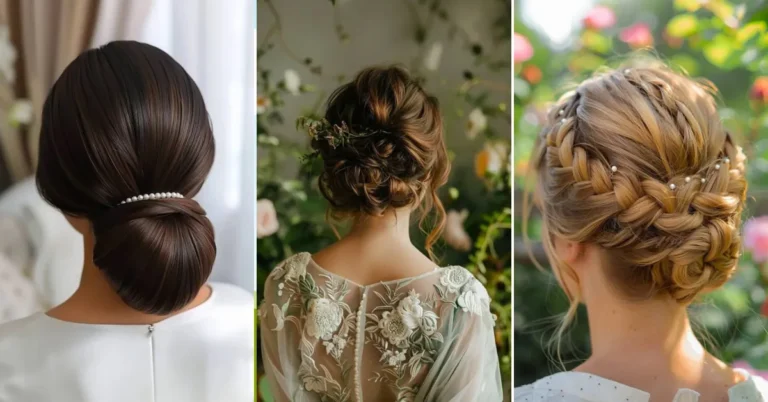
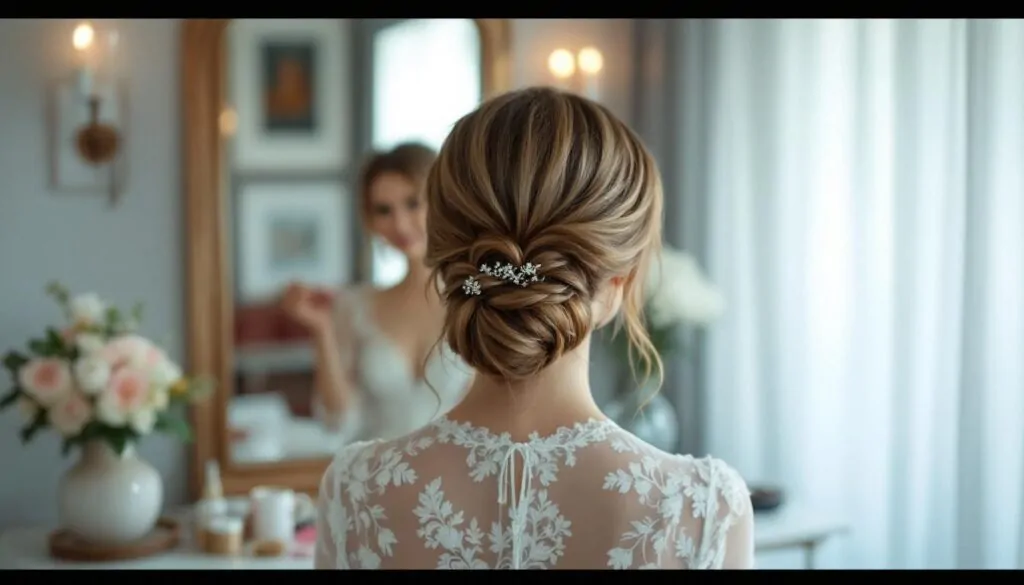
Classic church weddings work best with elegant updos like low buns or chignons. These styles photograph well and stay neat throughout long ceremonies.
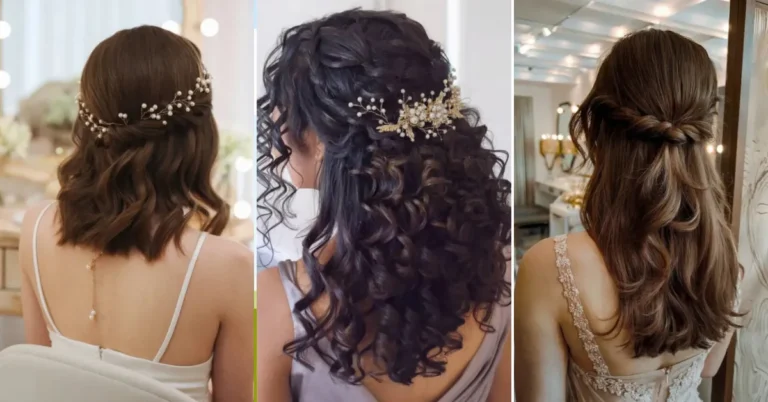
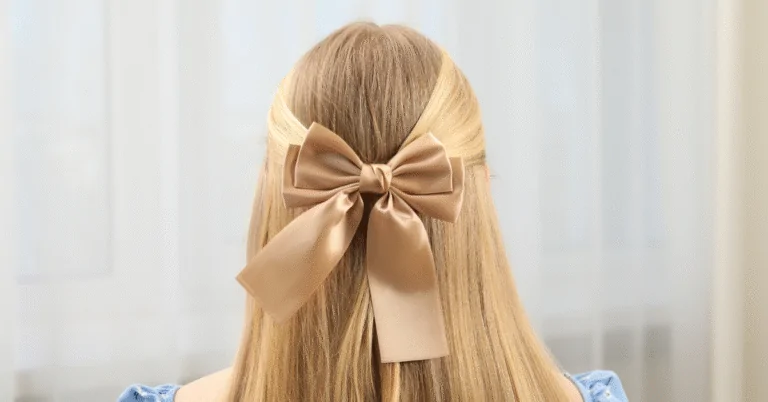
Rustic or outdoor weddings pair nicely with braided styles or half-up, half-down looks. These styles feel relaxed but still look polished.
Modern or minimalist weddings benefit from sleek, simple styles. A straight low ponytail or smooth bun fits this aesthetic perfectly.
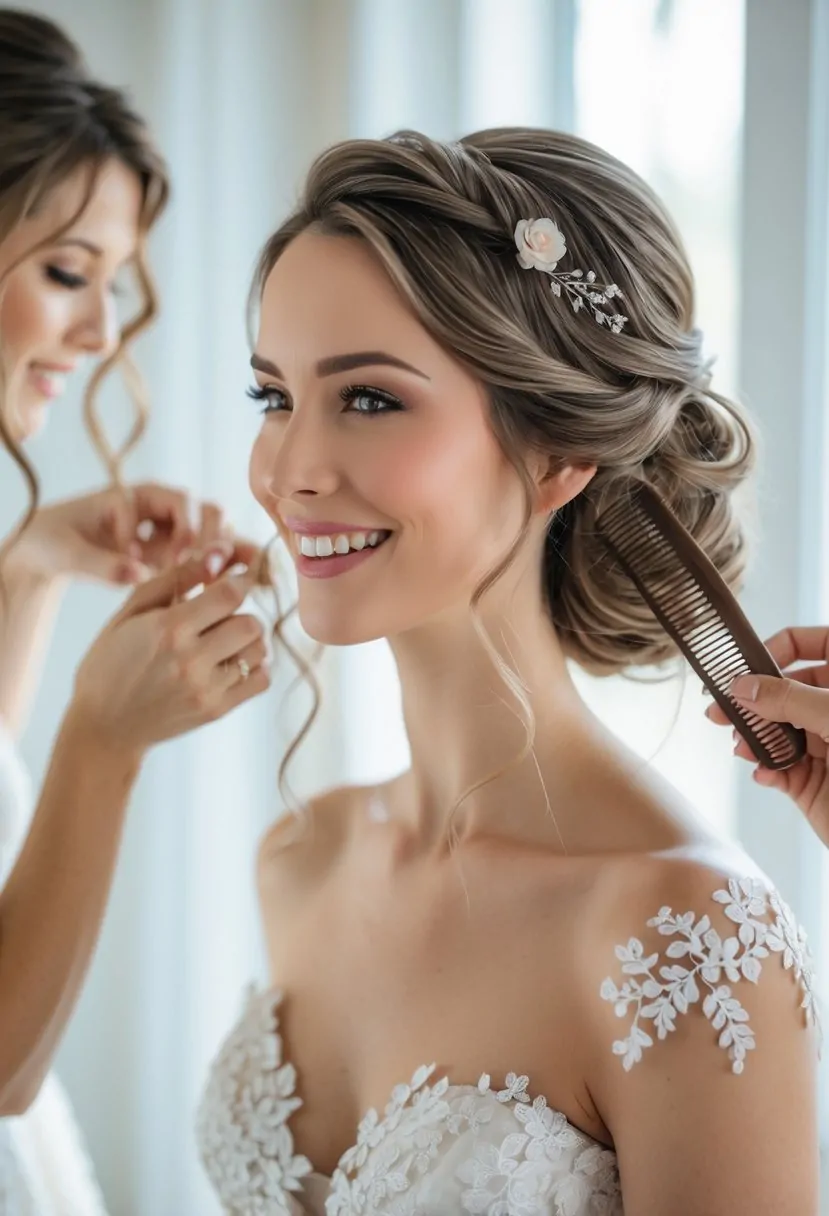
Consider the dress neckline too. Strapless dresses show off elaborate updos, while high necklines work better with side-swept styles or low buns.
The veil placement also matters. Cathedral veils need hairstyles that can support the weight, while shorter veils offer more flexibility.
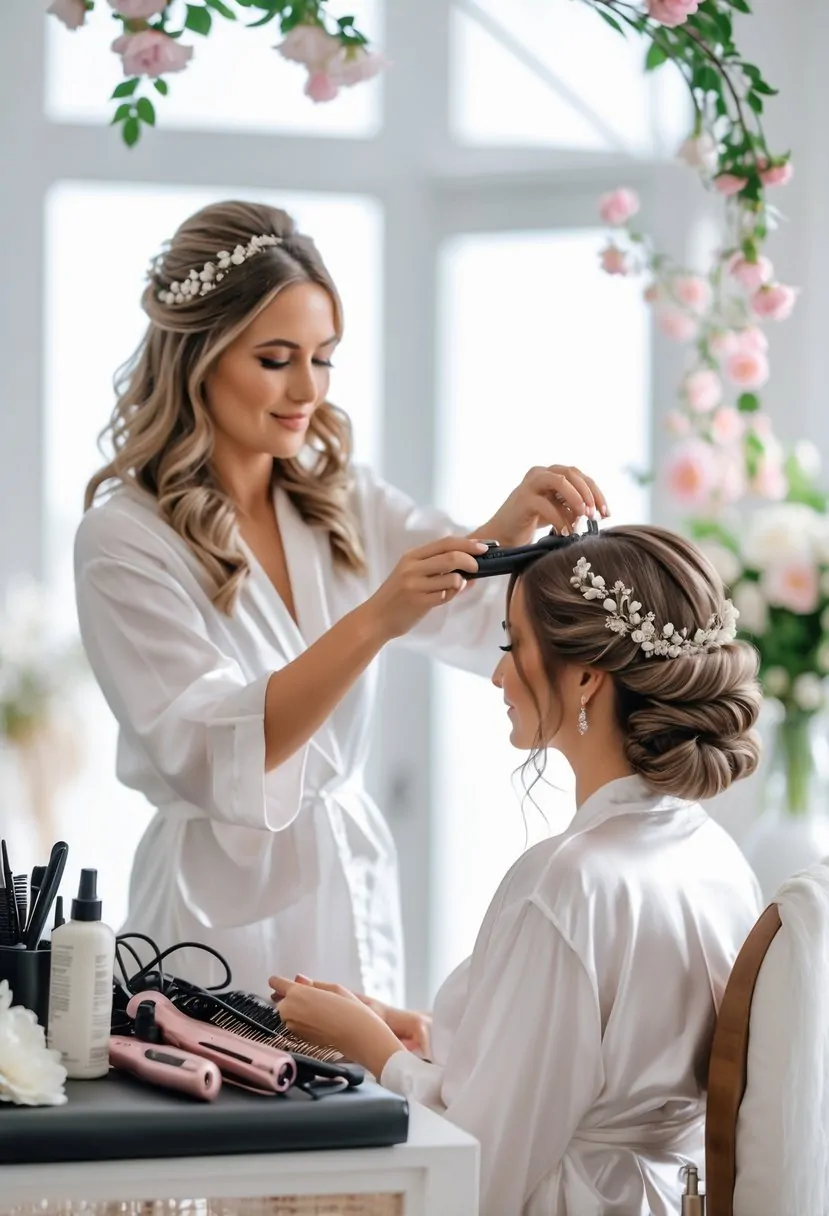
Essential Tools and Products for Quick Styling
Having the right tools makes wedding hairstyling much easier. Start with basic items that work for multiple styles.
Must-have tools include:
- Hair elastic bands (clear or matching hair color)
- Bobby pins in multiple sizes
- Hair clips for sectioning
- Fine-tooth comb
- Wide-tooth comb
- Hair brush
Essential products:
- Strong-hold hairspray
- Hair gel or pomade
- Texturizing spray
- Heat protectant spray
A curling iron or straightener helps create texture and polish. Choose a barrel size that matches the desired curl pattern.
Hair extensions can add volume and length if needed. Clip-in extensions are easiest for beginners to use.
Practice using these tools before the wedding day. This helps avoid mistakes when time is limited.
Simple Updos for Weddings
Low buns are the easiest updo for beginners. Start by brushing hair back into a low ponytail at the nape of the neck.
Twist the ponytail and wrap it around the base to form a bun. Secure with bobby pins, inserting them at different angles for better hold.
For a messier look, pull out a few face-framing pieces before creating the bun. Gently tease the hair at the crown for extra volume.
Side buns work well with side-parted hair. Gather hair to one side and create the bun behind one ear instead of at the center.
French twists look elegant but stay simple. Brush hair to one side, then twist it up the back of the head. Tuck the ends under and pin securely.
Finish any updo with hairspray to prevent flyaways. Test the hold by gently shaking the head.
Effortless Braided Hairstyles
Side braids create a romantic look without much skill needed. Part hair deeply to one side and braid the larger section loosely.
French braids around the hairline look complex but use basic braiding. Start at the temple and add small sections as you braid toward the ear.
Crown braids work by creating two small braids at the temples. Cross them over the top of the head and pin behind the opposite ears.
For a bohemian style, braid damp hair before bed. This creates natural waves the next day. Gently separate the waves with fingers and add a small braid on one side.
Fishtail braids look intricate but only require dividing hair into two sections. Take small pieces from the outside of each section and cross them over.
Pancake braids by gently pulling apart the sections after braiding. This makes thin hair look fuller and creates a softer appearance.
Tips and Tricks for Lasting Wedding Hairstyles
A wedding hairstyle needs to survive hours of celebration, from ceremony photos to the final dance. Smart preparation and avoiding common pitfalls will help any bride achieve a look that stays beautiful all day long.
Time-Saving Preparation Techniques
Practice runs are essential for any DIY wedding hairstyle. Brides should complete at least three full practice sessions before the wedding day. Each practice helps identify problem areas and builds muscle memory.
Set up a styling station the night before with all tools and products organized. This includes curling irons, bobby pins, hair clips, brushes, and styling products. Having everything ready saves precious time on the wedding morning.
Prep hair texture the day before the wedding. Clean hair often slips, so many brides wash their hair 24 hours before styling. This creates the perfect texture for holding styles.
Take photos during practice sessions from multiple angles. These photos serve as reference guides on the wedding day and help identify any adjustments needed.
Create a timeline that includes 15-30 minutes of buffer time for hair styling. This prevents rushing and allows for touch-ups if needed.
Common Mistakes to Avoid
Using too few bobby pins causes styles to fall apart quickly. Most updos need 15-20 bobby pins to stay secure. Brides should insert pins in an X-pattern for maximum hold.
Skipping hairspray leads to flyaways and loose pieces. Apply a light mist before styling, during the process, and as a final step. However, avoid over-spraying, which makes hair stiff and unnatural.
Choosing complex styles without enough practice often results in disaster. Simple, elegant styles like low buns or side-swept looks are more reliable for beginners.
Ignoring hair texture leads to inappropriate style choices. Fine hair needs more teasing and texture spray, while thick hair requires more bobby pins and stronger hold products.
Forgetting about accessories until the last minute can throw off the entire look. Headbands, clips, or veils should be incorporated during practice sessions.
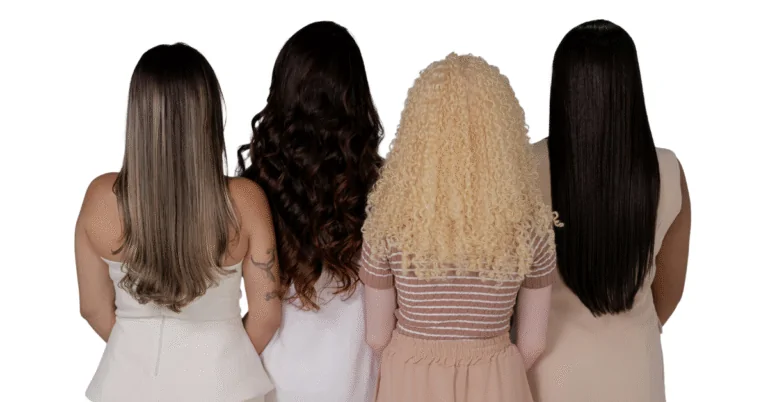
Adapting Styles for Hair Length and Texture
Short hair works best with styles that enhance natural texture. Finger waves, pin curls, or sleek side parts create elegant looks without requiring length. Adding small accessories like pearl clips can elevate simple styles.
Medium length hair offers the most versatility for DIY styles. Half-up styles, low chignons, and braided accents work well. This length holds curls effectively and provides enough hair for simple updos.
Long hair requires more bobby pins and stronger products to support the weight. Braided elements help distribute weight evenly. Low buns and side-swept styles prevent strain on the scalp throughout the day.
Fine hair needs texture spray or dry shampoo for grip. Teasing at the roots creates volume and helps styles last longer. Avoid heavy products that weigh down delicate strands.
Thick hair requires sectioning during styling for better control. More bobby pins and stronger hold products are necessary. Pre-curling thick hair makes it more manageable for updos.
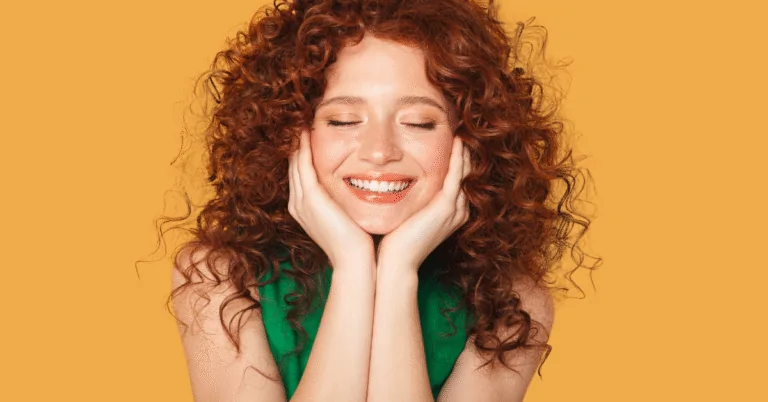
Curly hair should work with natural texture rather than against it. Embrace waves and curls by defining them with leave-in conditioner. Avoid brushing, which creates frizz and disrupts curl patterns.